Let me begin by saying that I absolutely love canning. It is such a wonderful way to preserve a harvest and it can also make for easy meal prepping on those nights you just don’t feel like cooking or, as happens to me more often than not, forget to thaw your meat in time.
Now, I know that canning can intimidate people, and for a long time it intimidated me as well. But the thing about canning is that once you take the leap and learn more about it, it really isn’t as bad as it seems. There are definitely a few things to learn before getting started, and of course a few required supplies too. But there is also a lot that you don’t need.
So you might be asking, what do I really need to get started with canning then?
Let me tell you!
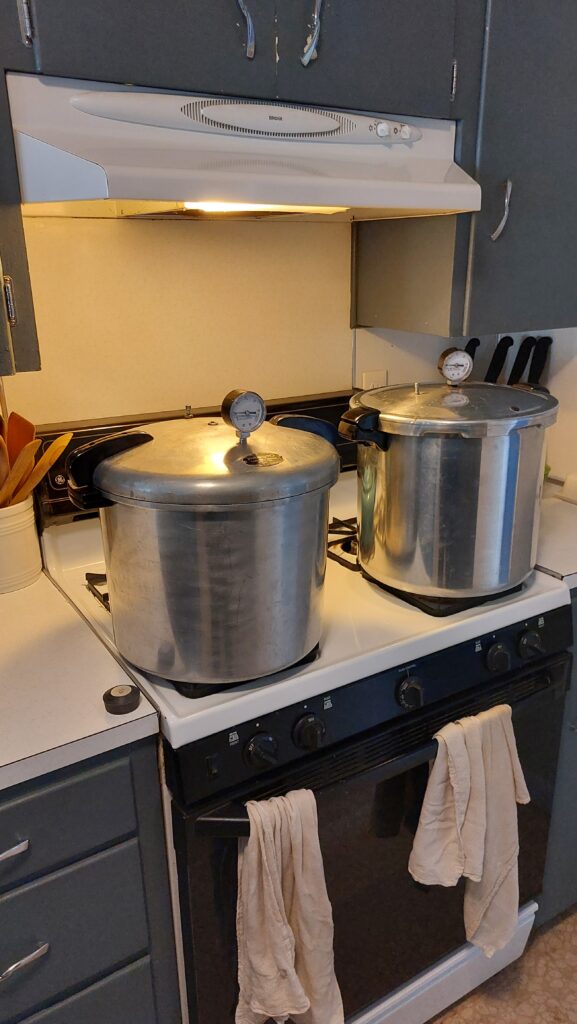
A Pressure Canner or Water Bath Canner (or both).
To really understand which type of canner you need, we need to dive in a little bit and make sure that we understand which canner can handle what you want to make.
Pressure Canners

Pressure canners are required in canning when processing non acidic foods. These foods can include things like meats, beans, non-pickled vegetables. Basically anything that is above a PH 4.6 on the acid/base scale. As a refresher, the scale goes from 0-14, and is broken down as follows:
- 0-6.9 Acids
- 7.0 Neutral
- 7.1-14 Base (or Akaline)
Pressure canning can often make people worry as well. They imagine lids blowing off and getting stuck in ceilings, with hot boiling water and glass everywhere. And while those concerns may have had their place when pressure canning was first becoming a thing, most pressure canners have so many safety features put into place that the risk of the pressure canner exploding is no longer a thing. Now I do say most because if for some reason you inherited a canner from your grandma or great grandma, those canners may come with a slightly higher risk. It’s nothing to be afraid of, just something to be aware of.

Water Bath Canners
I will start by saying that technically a pressure canner can also be a water bath canner. Pressure canners can however be more expensive.
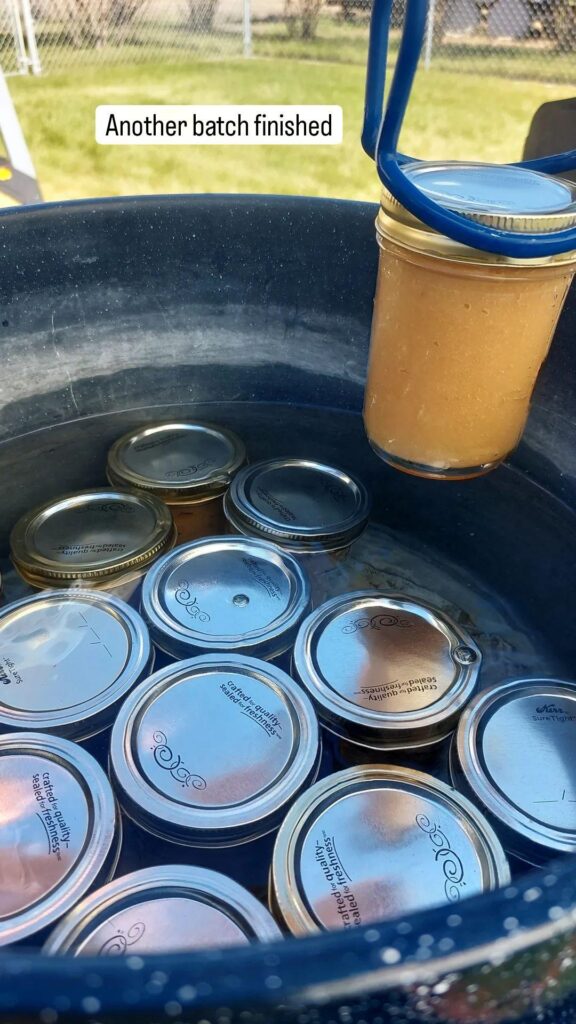
Water bath canners are typically a large, often blue or black enamel coated, pot that looks like a stock pot of sorts. They are most commonly used for more acidic foods like tomato sauces, pickled items, and fruit products.
These are often easy to find in your local Buy, Sell, Trade groups. Just make sure there are no major dents in the pot, or major scratches in the enamel. Buying them used is also a great way to acquire a few other smaller canning supplies as well because they often come with accessories.
One thing to keep in mind with either type of canner is that sitting a jar directly on the bottom of the pot can often lead to a higher chance of jars breaking in the canning process. So if your canner doesn’t come with one, make sure to find a “canner cooker rack” to sit on the bottom of the pan for the jars to sit on.

Jars, Lids & Rings
There are many options when it comes to canning jars, lids, and rings. Lids and rings will often come with jars if you buy them new, otherwise you can always purchase just lids or lids and rings as needed. Some good brands for jars are Ball, Kerr, and Azure Canning (ordered through Azure Standard). As far as lids go, I mostly use Ball or Kerr lids, but there are other respectable companies as well (For Jars and Azure Canning). All of these lids are considered “single use lids”, meaning that you only use them once for canning. After that the seals may not properly seal again. I often save lids though to reuse when I am refrigerating or freezing something in jars, that way I don’t “waste” a new lid on something that doesn’t need to hold a pressured seal.
Another option for lids is reusable lids. I personally haven’t attempted to use these as they can come with a slight learning curve to get good seals without a lot of siphoning. But I know people who have used them with great success. The only brand that I know of is Tattler Lids, but they are definitely something worth looking into.

Safe Recipes & Resources
Making sure to have safe recipes and resources is very important. You want to feel confident in the food you have stored, it’s no use to you if once it’s canned you won’t eat it.
Some of my favorite resources include: National Center for Home Food Preservation (NCHFP) (https://nchfp.uga.edu/how/can), Homesteading Family, and Ball Canning Books. The NCHFP also offers all of their website in a book format that you can order if you prefer a physical copy.

A Few Small Canning Tools
These small tools are things you can often pick up at a home goods store that sells canning supplies. They include a canning funnel, jar tongs, a canner cooker rack, and some other add-ins depending on what you are wanting to make. Common add-ins include pectin (for jams and jellies), some form of citric acid (think pure lemon juice), and vinegar for wiping down the tops of jars with.
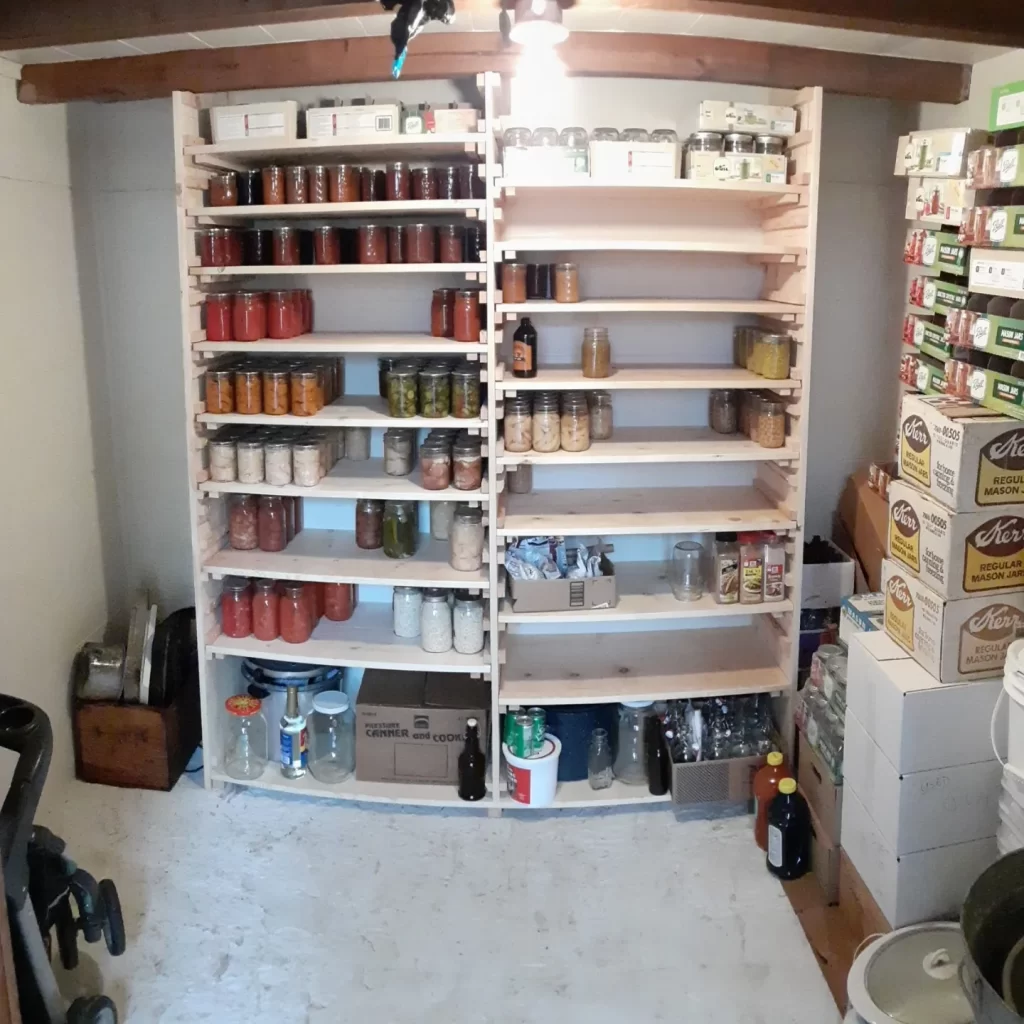
Somewhere to Store All of Your Canned Goods

So, that’s how to get started! I am always a big fan of finding someone local to you (a friend, family member, or friendly community member) who would be willing to walk through canning with you for the first time. But if not, there are also plenty of Youtube tutorials and online resources to get you started. Just make sure they are following safe practices (or at least practices that you feel confident in).
Happy Canning!

